My Barbie drank her milkshakes from a toothpaste cap.
And later I used bottle caps to make pins to wear.
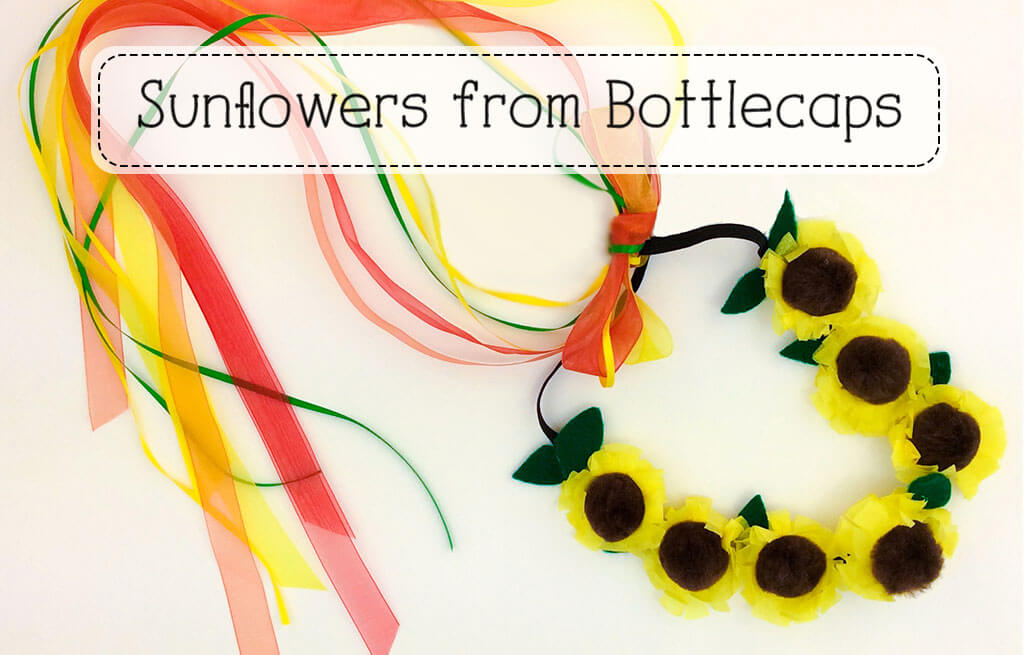
Now that I'm all grown up, I'm much more sophisticated and use caps as the base for flowers. It's doggone easy and I'll show you how to do it.
The first thing to do is save a bunch of caps - scavenging trash cans is perfectly normal behavior.
I saved a jarfull, but you only need 15 or twenty to make this project.
When you've got your caps saved up, your ready to start.
This project is an addition to my original bottle caps tutorial:
It's a video series that guides you through all of the steps in making a flower garland. The course shows you how to make a sunflower pendant and garland - these poinsettias are a variation of the garland.

How to make the paper poinsettias
First, I cut out a bunch of circles, using a drinking glass for tracing a circle shape.
I made a template for the petals.
Then I cut out the petals.
After I put the flower together, I decided that those little pom-pom centers needed some red.
So I got out my watercolors.
I thought they’d give a nice, soft, blushy effect.
Then came my accident - which turned into a big new idea!
As I was painting little dabs of paint on the poms-poms, I dribbled some of the watercolor onto the tissue petals.
Hmmm…. at first I thought I’d toss that flower, but then as it dried, I noticed the stain gave the flower a subtle, natural look.
Since I’m such a bold gal (and I love to get side-tracked), I decided to paint all of the flowers. Then when they dried, I got even more side-tracked.
Watch the video to see what I did.
Want to learn to weave? Do looms look intimidating?
My christmas tree kits comes with everything you need, and you can make it in an afternoon.
And best of all it comes with videos that guide you through every single step!
Click here to see the kit in my shop.


