I'm a weaver, but I also love woodworking. Making looms brings me back to the days spent in my father's workshop, I loved the smell of the sawdust and the feel of the wood in my hands after it was sanded smooth and finished. I think that's why I fell in love with weaving - all of those lovely wooden tools!
I'd like to show you how I make the looms and weaving needles featured in my shop.


The first step is to sand down the wood, here I'm using birch plywood. I try to keep my shop as earth friendly as possible, and birch is a sustainable wood.

Then the plywood sheet is put into the laser cutter - here's a sheet all cut and ready for finishing.

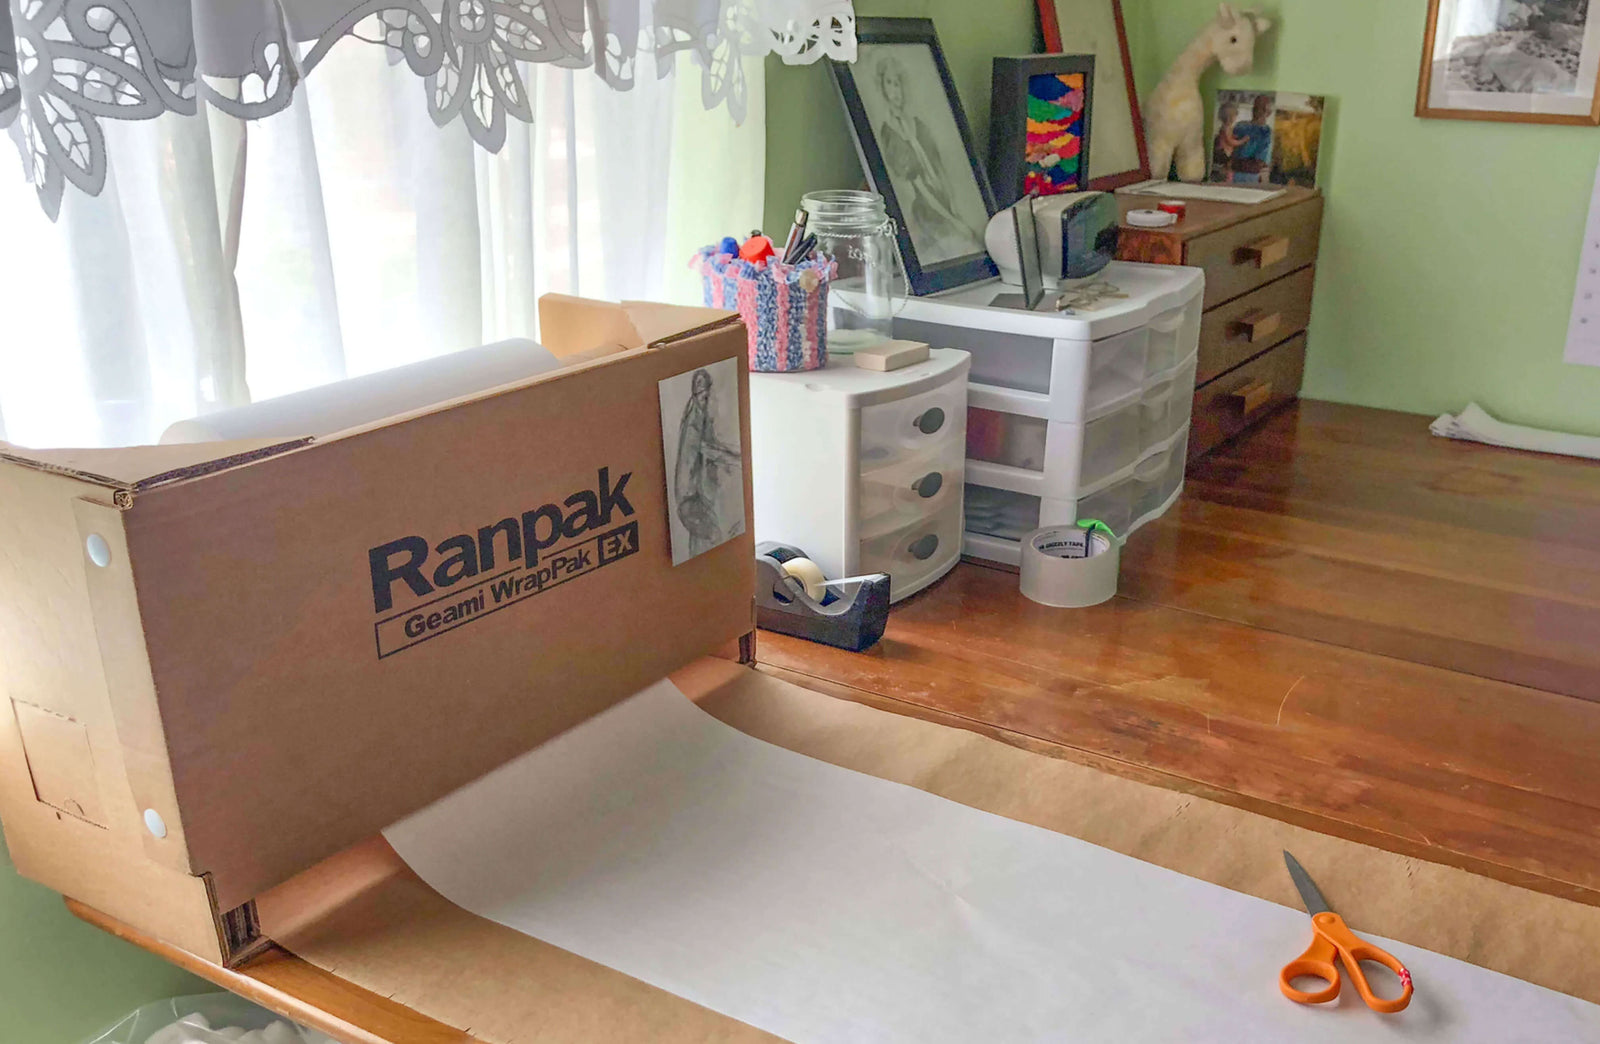
I sand the pieces in my garage - this is when I get to listen to my podcasts and audiobooks.

I clean the sawdust off with a little turpentine - water would make the wood rough again. My father taught me that one.

I guess this step is sorta like a spa for the looms. I soak them in Danish oil, which moisturizes and gives it strength. Ahhh that feels so good!

I drain off excess oil and save it for the next batch.

One last sanding makes the wood super smooth - this used to be my final step, but then one day I tried some finishing wax, and it gave the loom such a silky finish I knew I had to add it to the finishing process.


And it also meant I could justify one more tool, my little buffer!

But the needles need to be rubbed by hand.

The final step is winding the yarn - weavers call it the warp - onto the loom so you can start weaving right away!

Find out more about my looms and needles, click here to go to my shop!
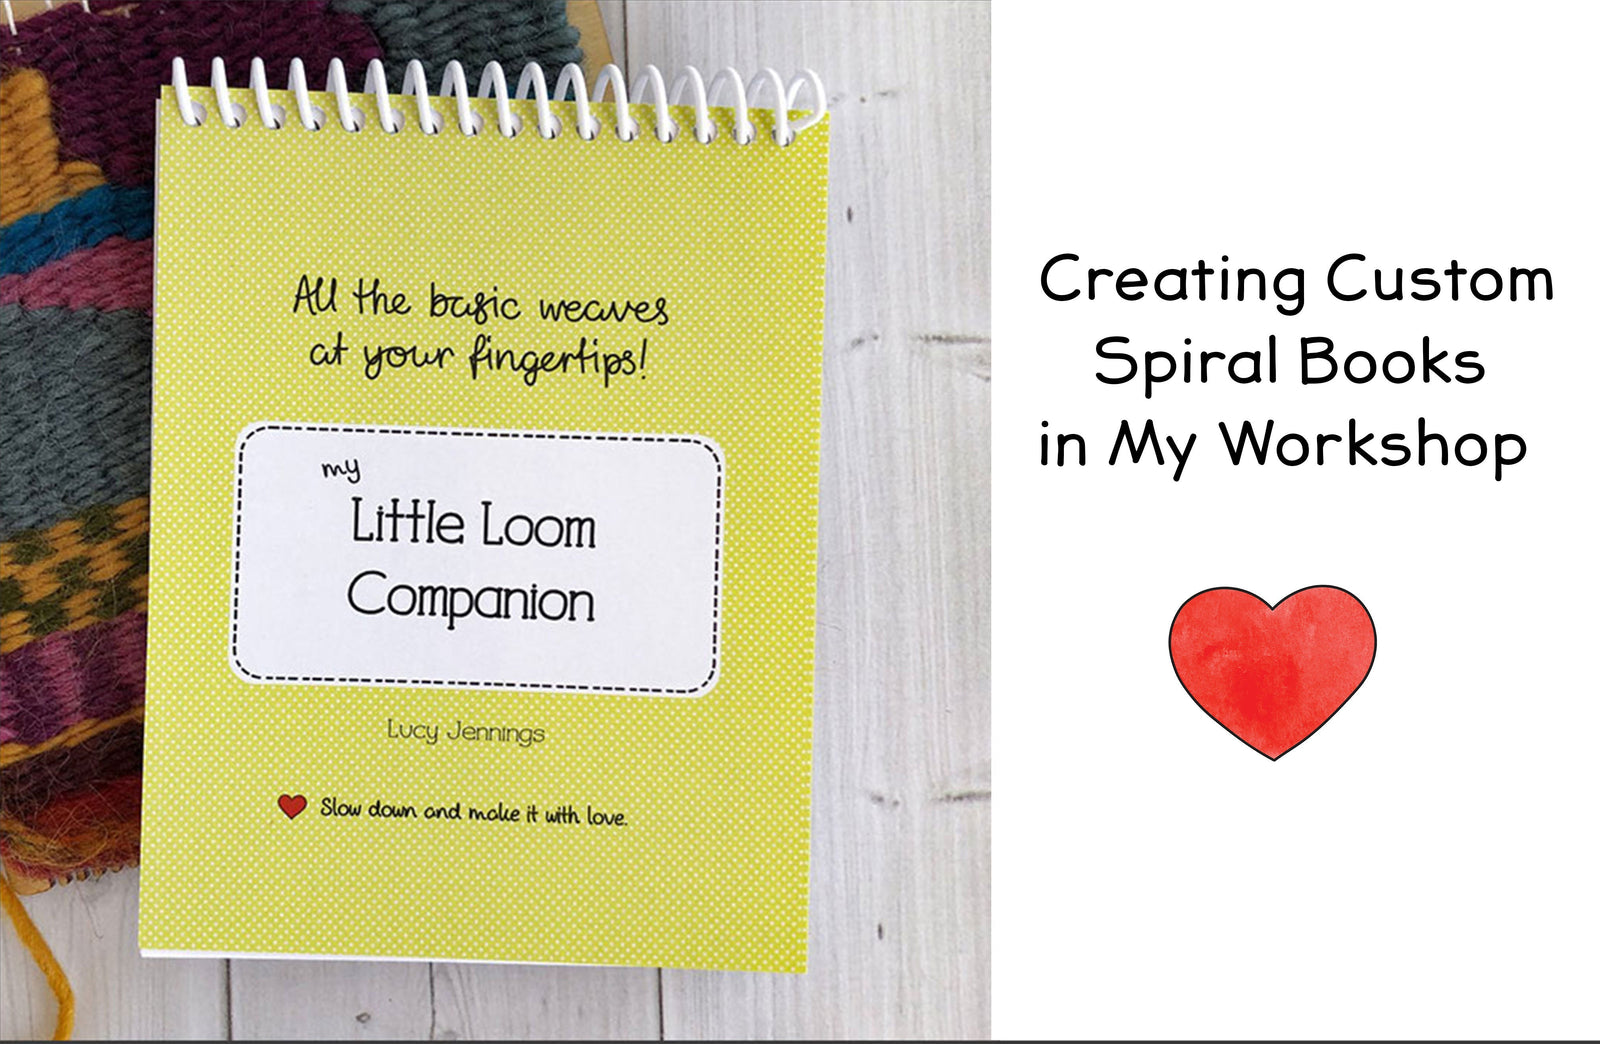
Hey there new weavers!
Are you confused by some of those weaving terms?
Fear not, I’ve got something to help you keep your brain sorted.
A pdf with photos and illustrations to make
learning the basic weaving terms easy.
![]()