You Can Count on Coffee
Way back in college I used to dye everything I could get my hands on. Pine cones, flowers, leaves, wine, and even charcoal.
The results were surprising.
The stuff you dye with doesn't always make the color you expect.
But not with coffee! You can count on coffee to give you a rich brown, and the color doesn't fade.
Some people are very exacting when they dye, keeping detailed notes.
I used to be that way. But it's hard to duplicate the same color later on.
Now my primary goal is to have fun, and see what happens.
Here's a coffee dyeing project I did a couple of years ago.
Yes, I did have some fun - And I hope it inspires you to throw caution to the wind and have some fun too.
 From flower pink to earthy brown
Who knows what my original plans were for this fluffy pink mohair?
Maybe I was going to weave some fifties movie-star sweater. Obviously I never got to that project.
So I decided to overdye the pink yarn with coffee, and use it in one of my yarn kits.
The pink mohair was on a cone, so the first step was to reel it into a hank.

My father made me this yarn reeler - I think he loved weaving equipment as much as I did.

Scouring
Before dyeing, it's a good idea to wash out any finishes the yarn manufacturer used to make the yarn soft. You don't have to do this, but it makes the dye spread evenly throughout the yarn. And it also makes sure that the yarn doesn't have any chemicals on it that might change the color of your dye bath.
I love Fels Naptha, it's an old-fashioned soap that's gentle on yarn, and it smells so nice!

You can get it at any grocery store, and of course Amazon too!
Make some soap flakes by rubbing the bar on a grater.
Fill an enamel pot with warm water
...and add the soap flakes
The pot needs to be enamel because if you dye the yarn in a metal pot, it can change the color of the dye.
Be sure to keep all dyeing pots and utensils separate from the ones you use to cook with - even if it's all natural, you still should make a habit of keeping all the dyeing equipment separate.
Treat wool like you treat yourself, you wouldn't get in a bathtub filled with boiling hot water! A nice warm bath is just right.
And no roughhousing! Wool will felt up if you agitate it, so just move it around gently to help the soap sink in.

At the last minute, I decided to add some loopy mohair yarn. So move over fluffy pink!

 While all of this yarn prep was happening, I got the coffee going.

I made one strong pot of coffee after another and saved it in plastic bowls.

Like I said before, all the coffee I was using was old. I'd been saving my stale ground coffee and instant coffees for a while, waiting for a good time to dye with them!
I poured all the instant coffee into the plastic bowls too.

Meanwhile...
While the coffee was brewing, I went through my favorite old dyeing book.
I wore it out back in my dyeing days of youth.
It's out of print now, but I've found some beautiful new books for you! You'll find them at the end of this post.
But if you ever come across this one, grab it!

Mordants
If you want the color to stay in your wool, you need what's called a mordant. A mordant makes the dye adhere to the yarn, and the color won't wash out.
Some plants come with a mordant right inside them.
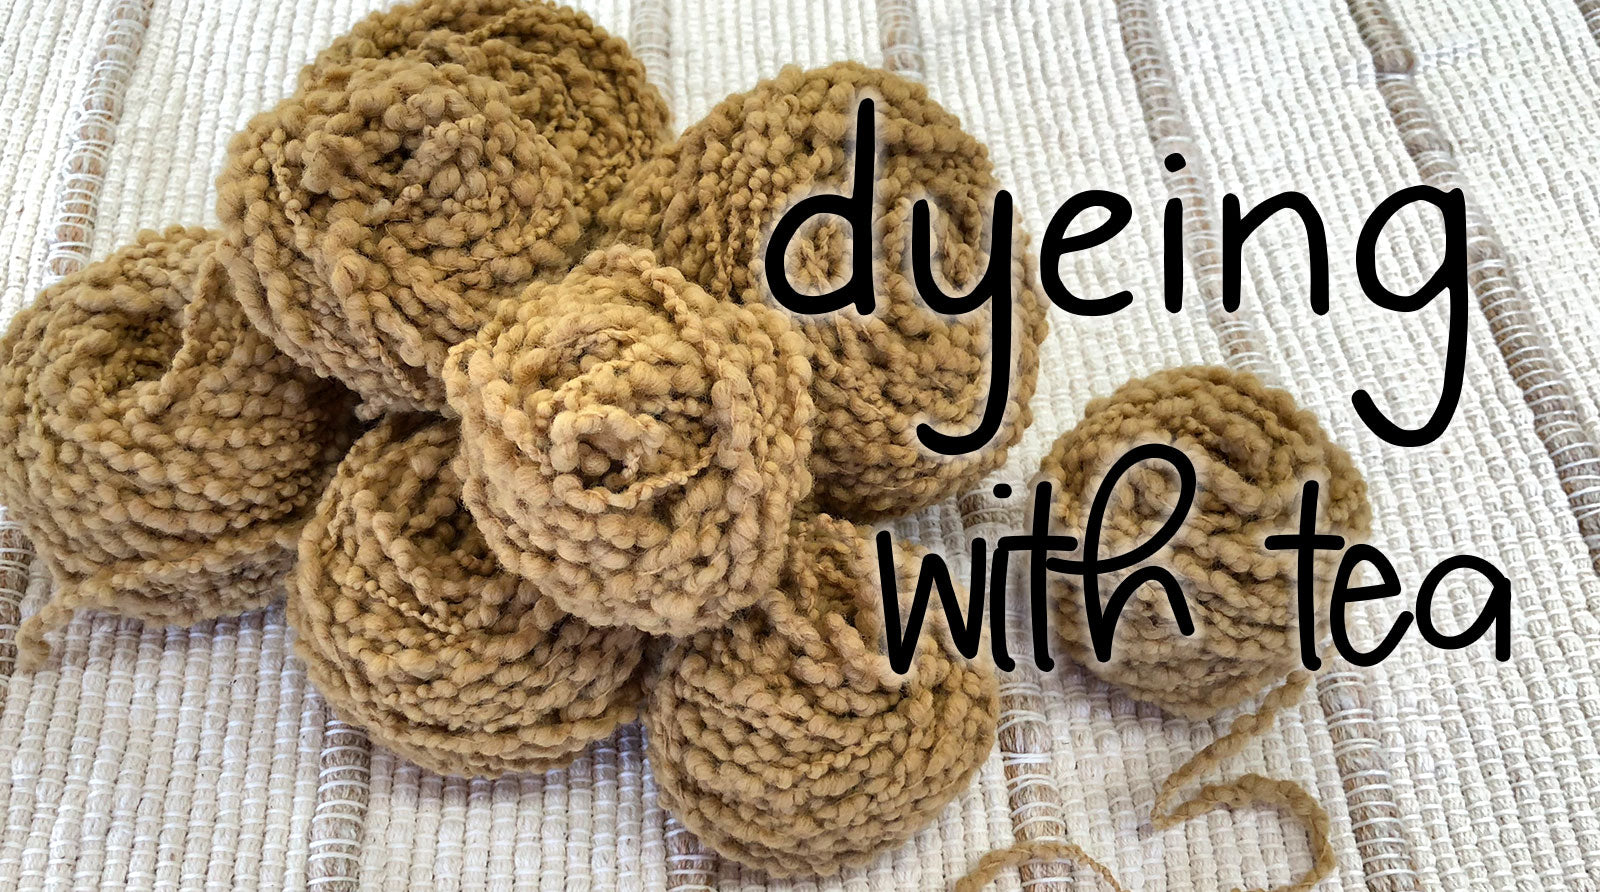
Tannin is a natural mordant found in tea.
But coffee needs some help. If I didn't use a mordant, the color could wash out.
Since this whole dyeing project was spur of the moment, I had to find something in my kitchen that would work.
Yay! I found some Alumway back in the spice cabinet.

My other spices are good for dyeing too, but that's another blog post!

Soaking time was up!
The wool was all done soaking in the pot of soapy water.
I dumped it all into the sink,

filled the pot with warm water, and gently put the wool back into the pot.

I swished it in the clear water a bit then dumped it in the sink again.
Then I refilled the pot with warm water,

and this time I sprinkled in some Alum.
My apologies to anyone who wants exact measurements. My goal was to nurture my soul and have some fun, so I dumped the whole canister in!

But here's what Gentle Dyes tells us:
For 4 ounces of dry wool, use:
1 1/2 tablespoons Alum and 1 gallon of water
Four ounces of wool is not very much! That's why I just used it all up.
I added the wool

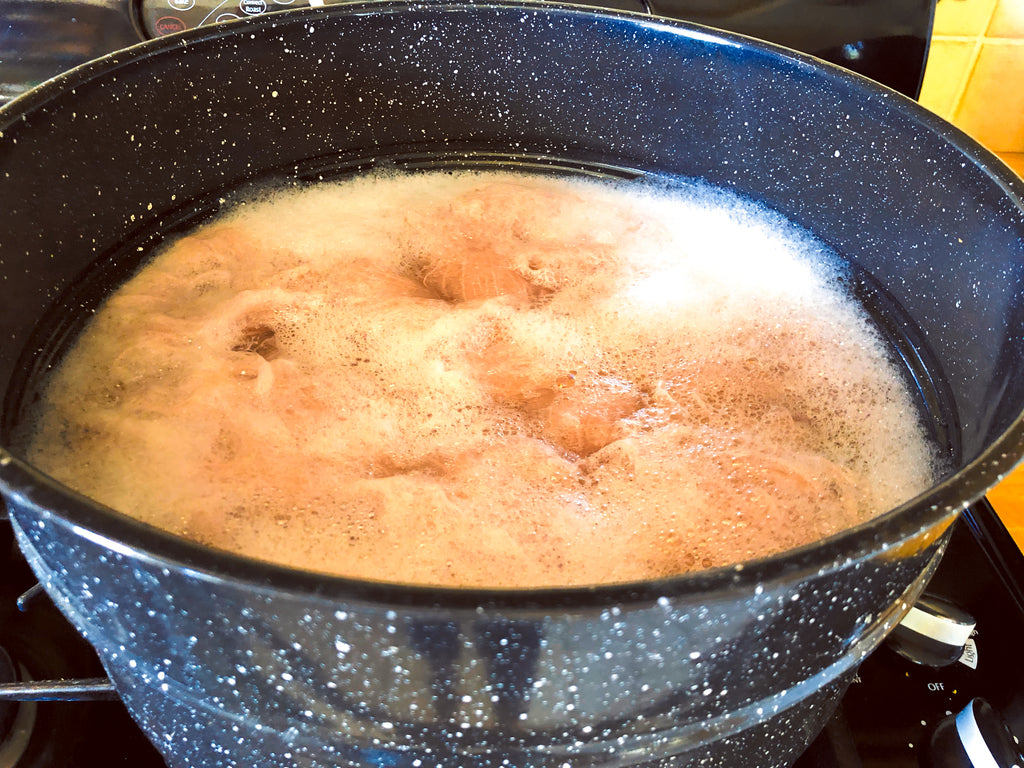
and simmered it on the stove for one hour.

After an hour on the stove, I dumped the hot wool into the sink to drain.

Finally, The Joe goes into the pot
And the wool jumps in after!

It's important to gently stir the yarn so the coffee color gets distributed evenly.
But it's also important to experiment a little, too! I threw in a ball of the loopy yarn.
Nope. It wasn't washed or mordanted, but I wanted to see what would happen. Would the yarn come out kind of ombre, going from the light inside the core of the ball to darker on the outside?

I figured there was enough Alum in there from the other wool to get the ball mordanted.

I simmered the pot for an hour or so, then because I wanted to get the richest brown possible, I let it soak overnight.

The next morning I rinsed it all out in a big plastic bucket

And hung it up to dry.

How about that ball of yarn?
Did it get that ombre effect, going from light to darker?

I wound it into a skein so I could see if the inside of the ball came out lighter than the outside.
It didn't make any difference, probably because the ball was not would very tightly. Maybe I could try winding tighter next time.

But the color is beautifully mottled, don't you think?
I made a big mistake
Alum contains aluminum, and that's harmful to plants and animals. I didn't realize this until I poured my coffee dyebath into my potted plant on the patio.
The entire plant wilted away.
Then I read a section from Harvesting Color, where she explains how some chemicals can be toxic, and how to properly dispose of the dyebath.
I figured that if you cooked with Alum, it must be okay for plants, well I was wrong!
Here's what I should have done:
* diluted the dyebath with lots of water before poured it on anything.
* used the dyebath over again to make the concentration of alum less harmful to the plants
* read the book first - hmmmmm...
The plant has grown back nicely, so all is not lost. But my lesson is that I need to be more careful when I'm making dye choices.
And maybe not dump the whole canister in next time.
But I did have fun
...and I hope you will too.

Books About Natural Dyeing

Classics
I've used these books on many dyeing adventures. They are still excellent sources, but since they were written so long ago, most of the illustrations are line drawings. Printing color cost too much back then.
If you'd like to grow your own plants to dye with, this book will guide you through the best plants to add to your garden, and how to dye with them.
North American Dye Plants
The beautiful line drawings help you identify each plant.
Navajo and Hopi Dyes
Since I live in Arizona, I found this book to be the most relevant for the plants I could find around me.
New Books
I bought these two books recently. They're both excellent!
Harvesting Color features beautiful photography, and focuses on earth-friendly dyeing.
It nurtures the granola eater in me.
Wild Color is a bit more scientific, and gives examples of how each dye is affected by different additives, creating an array of colors from each plant.
When you go to these books on Amazon, you know what Amazon will do... show you a whole bunch more books to choose from. All I can say is that I too, want them all!
HAPPY DYEING!


