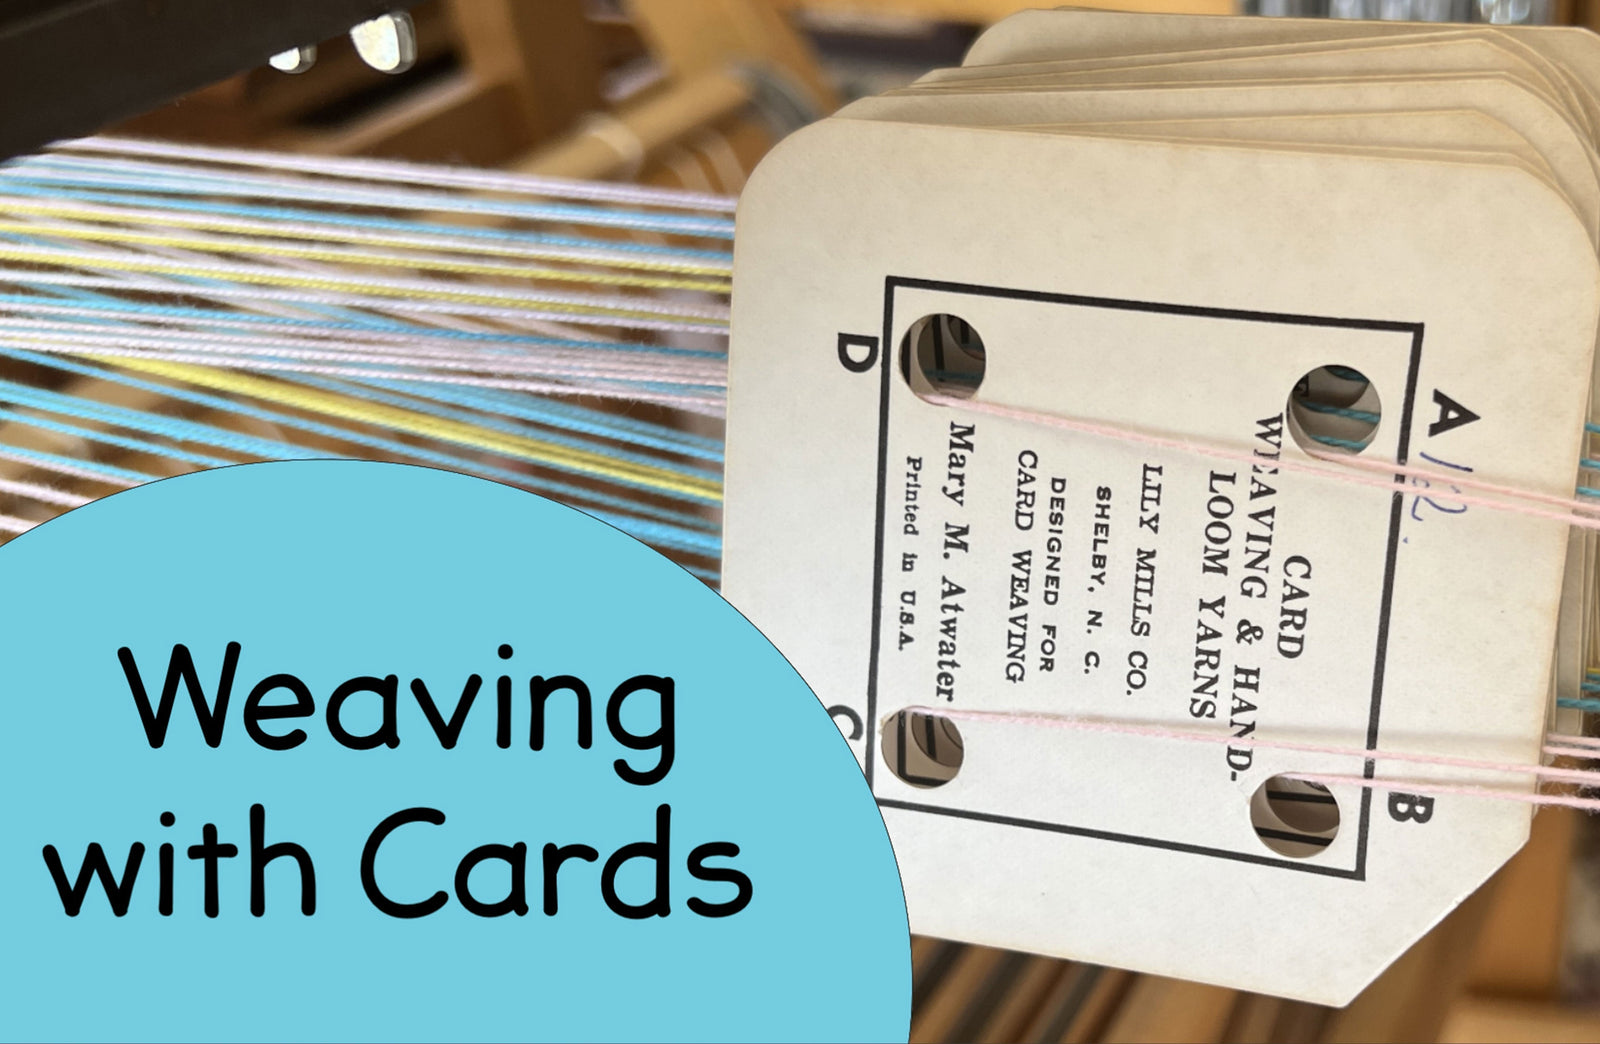
Are you thinking about giving weaving a try, but don't know where to start?
If you want to see how you like it without a big investment, you can use a picture frame for your first weaving project.
My first loom was a Christmas present from my sister, way back in high school. That loom made it easy to learn and I was hooked. The next thing I knew I was searching for a college that offered weaving courses.
So - maybe you'll fall in love with the craft too!
f you don't want to wait for someone to gift you a loom for Christmas, you can make a simple loom yourself. I'll show you how to DIY a frame loom and best of all there's no tools needed - just what you have around the house.
Here's what you'll need:
- picture frame
- masking tape
- yarn or string
- tape measure
- pencil
- scissors

The frame can be anything that's strong and won't bend under tension.
The weaving you create won't be the same size as the frame you choose.
You'll have about three inches at the top and three inches at the bottom of the loom that can't be woven.
The yarn/string needs to be strong and smooth because it's going to get a lot of wear as you weave. I recommend 8/4 cotton - it's rug yarn, but it's a lot like string. Click here to see it in my shop.
You're going to use the masking tape as a base to write on when you mark the spacing for winding the yarn on the loom.
You might have seen pictures of looms with nails holding the yarn on the loom. I've tried it and found that getting those nails in place kind of tricky, sometimes the wood split. And carrying around a loom with all those nails sticking out isn't fun either.
* I really should - but I don't - throw things away. Sometimes that's a good thing because I had this frame sitting on my bookshelf. If you aren't like me and need a frame you can probably get one at Goodwill.
Okay - Let's DIY the frame loom!


Prepare the Loom
Put the masking tape on the top and bottom of the frame, folding the ends to the backside of the loom.
Lay the tape measure down and mark the inches with the pencil.

Mark the center on the top and bottom with an arrow. This is useful for centering your weaving project on the loom. My weaving will be 8 inches wide, so I'll start wrapping the yarn around the loom 4 inches from the center.

Wind the Warp Yarn on the Loom
The yarn that's put on the loom is called the warp - so I'll refer to it that way from now on. Might as well learn the jargon right off the bat!
- I'm preparing a warp that has 8 threads per inch on the loom, and will weave with lightweight yarn.
- If you plan to weave with yarn that's worsted weight or thicker, that's you should wind 4 threads per inch.
- Go to my blog post Understanding Yarn Size to learn more about yarn weights.
Tie the yarn to the top of your loom and wind around the bottom of the frame.
Wind as tightly as you can.
A tight, even tension makes weaving much easier!

>>> Here's the important part <<<
Continue to wrap the yarn around the top bar then bottom bar - making sure to always go over the bar then under. If you do this, you'll see the warp create a cross in the middle of the frame.
Warp cross, top view.

Warp cross, side view.

When you've finished winding, tie the last warp thread to the top or bottom bar.
Get the Warp Strings in Order
Our goal here is to get each warp string in its proper place and make a happy weaving space.
Take the same string you used for the warp and measure a length about 4 times the width of the loom. This will be the ordering string.
Tie the ordering string to the left side of the loom and bring the string up through the top space on the warp cross.

Bring the ordering string down to the bottom of the loom. A fork is helpful for this.

Pull the ordering string taunt and wrap it around the right frame bar a few times.
Then return the string to the left side. You won't follow through the cross - that's the path you just took!
You need to make the ordering string pull up every other thread as you guide it across. You can do this with your fingers, but a tapestry needle makes it easier.
I'm using a bent weaver's needle. Click here to see it in the shop.

Pack the rows down as far as you can.

Now we'll put in two rows of ordering string for the top of the loom.
Measure a length of ordering string 4 times the width of the loom and tie one end to the left frame bar.
Pull the string through the open space at the top of the loom and pack it down to the center of the loom.


Pack the ordering strings into place as far as you can go to the top.

Set the threads in place, evenly spaced.

Make one row of twine to set the even spacing. I have a couple of tutorials on twining:

You're ready to begin weaving!
Wahoo!
Not sure what supplies you'll need?
There's lots of weaving supplies out there, but you don't need much to start, and I have a supply list tailor-made for learning to weave on any little loom.