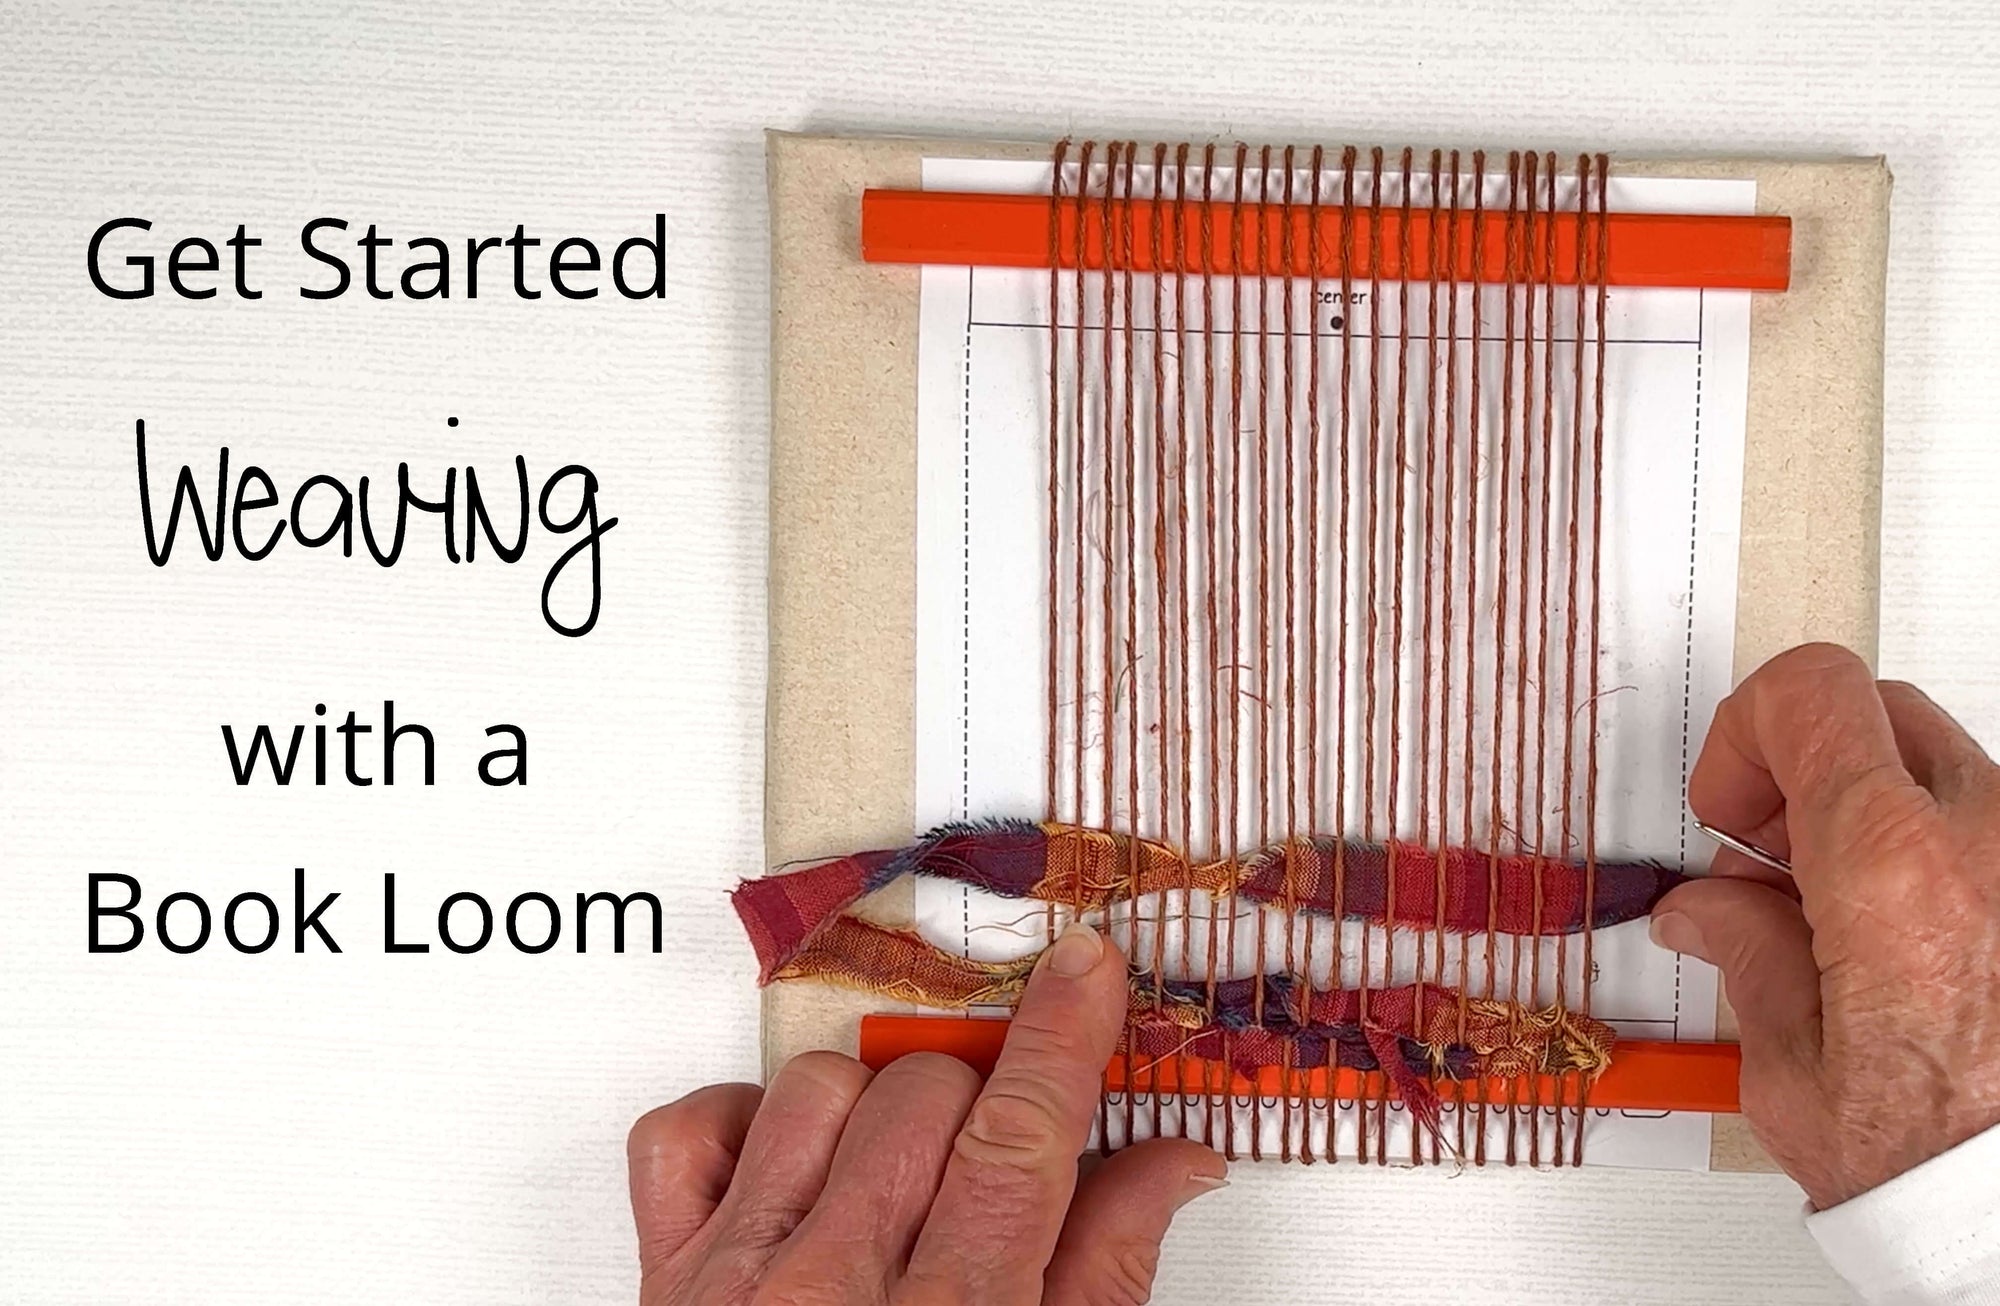
Weaving Dots
Dots are created a lot like checkers, but with checkers you weave the same amount of each color. With dots you have a background color and a dot color.

If you don't know how to weave checkers go to my blog post:
Learn to Weave Checkers on a Little Loom
Let's Get Started Weaving Dots
In this project color A (yellow) is the background and color B (blue) makes the dots.
Weave several rows of color A, then weave 1 row of color B.

Weave 1 row of color A

Weave 1 row of color B, making sure you loop around the color A strand.


Weave 4 rows of color A, and be sure to loop around color B to hide it inside the selvedge.

When you weave the next row with color B you’ll see that it’s offset from the first set of “dots.”


Keep on Weaving!
You’ll weave the second set of dots the same way you did the first. Keep weaving this pattern until you’re satisfied. I think you need at least 5 repeats of the pattern to get the dotted effect, but have fun and see what works for you.

Get my Book!
- You never know where you might find yourself weaving.
- In the park, under a tree, or maybe even up in the tree!
- No worries, this little book will fit right into your project bag, so you can take it with you anywhere your heart desires. And you will be a happy weaver.
click here to see the book


Here are the looms you can find in my shop:
Lucy Loom - 5 x 7 inches - Acrylic

Annie Loom - 5.5 x 10 inch - Wood

Do you like tiny things? I do!
Tiny Loom - 2.5 x 3.5 inches - Wood

Hey there new weavers!
Are you confused by some of those weaving terms?
Fear not, I’ve got something to help you keep your brain sorted.
A pdf with photos and illustrations makes it easy to learn the basic weaving terms.
When you sign up you'll also receive my newsletters. They keep you up-to-date on new blog posts, things in the shop, and what's happening in the fiber world. You can unsubscribe at any time. Read my privacy policy here.
![]()